Changing the privacy settings of your Trips and Pictures

Trips, Pictures and locations that you upload to gowomple.com can be hidden from the general public 

For this tutorial, content you create is shown on the left side. Content the public see's is on the right side. If anyone clicks on your picture, they will only see your trips and trip timelines. 

Note that both sides are identical. If you created the trip, you can keep people from seeing the entire trip until you are done with it and ready to show it. Click on the ellipsis 

Click on the hide view icon (White Eye) to hide this entire trip from the public.  

Note that the frame on the left shows the trip in a black frame, indicating that only you can see the trip. On the right side, the trip is no longer shown to the public. To make it visible again to the general public, click on the ellipsis. 

Click on the show view icon 
(Black Eye) 

And the frame is blue again and the trip is now visible to the public. We'll click on both trip pictures to show their timelines. 

Likewise, you can make individual pictures in your Trip timeline hidden from the general public. Click on the ellipsis 
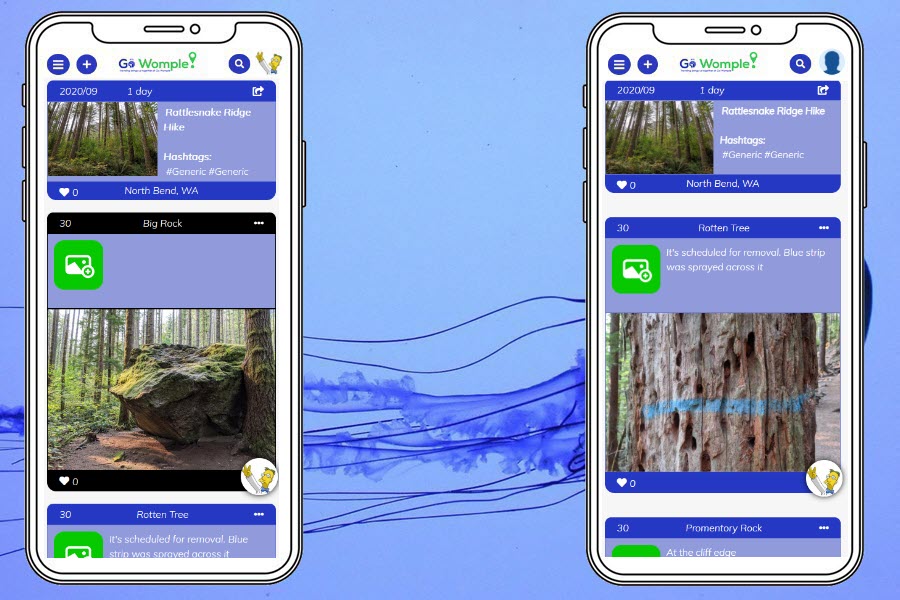
Clicking the White Eye will make just this picture private

On your timeline the picture is still visible. The frame is black, indicating it is private. On the right side, the picture is no longer visible to the public. You can always switch it back to public by clicking on the Eye icon again 

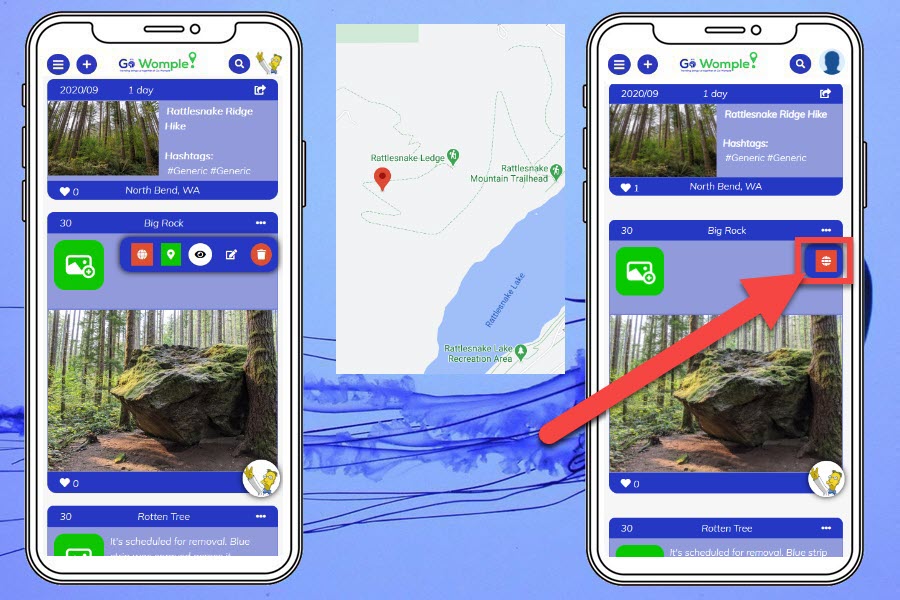
After resetting all pictures to visible, we note that anyone clicking the Globe icon will bring up where your picture was taken in Google Maps 

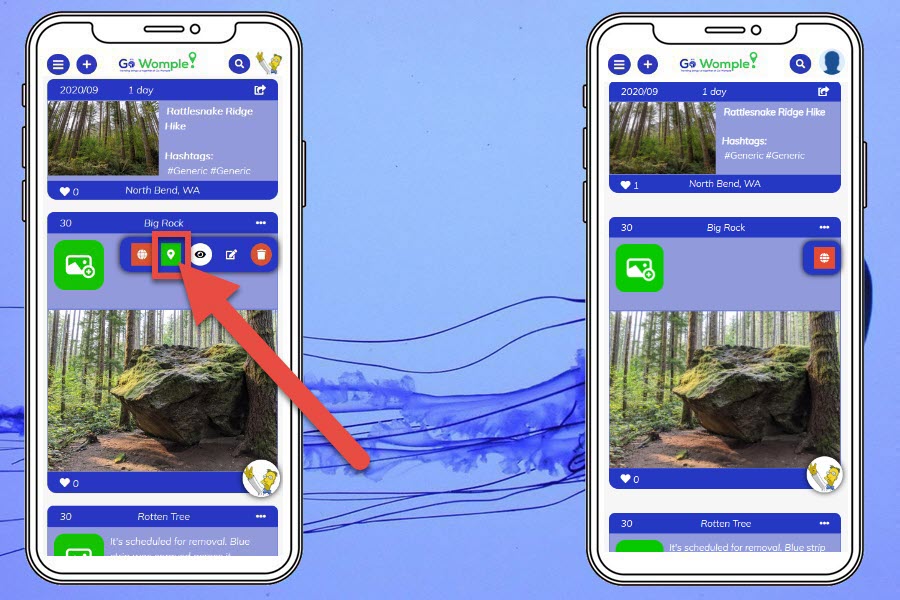
To prevent the general public from seeing the location where your picture was taken (your house for instance), click on the Green Map Location icon 

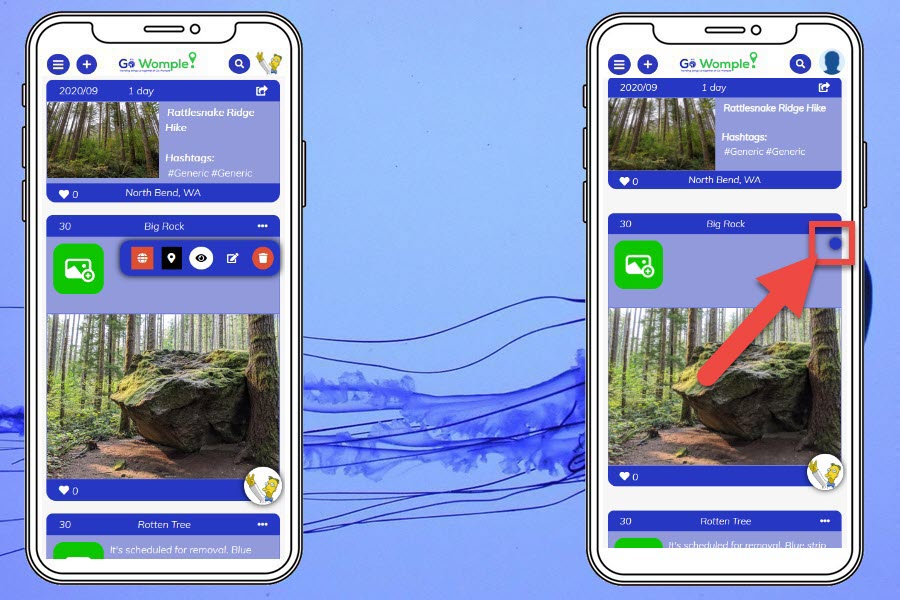
Note the Map Location icon turned black indicating the picture location is private and the public no longer has a globe to click on. To make the picture location visible to the public, just click on the Black Map Location icon and it will be visible again